Having compiled all of my production materials from my shooting days, and exporting them onto my laptop, I will begin the post-production process.
P5: Produce an offline edit of the promo
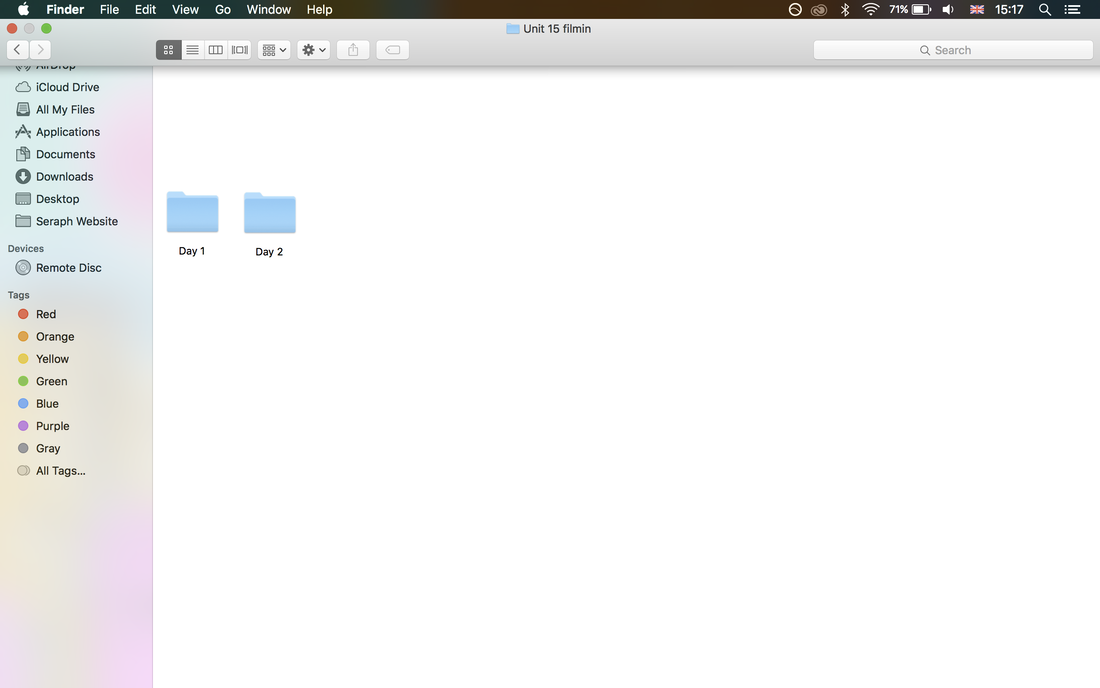
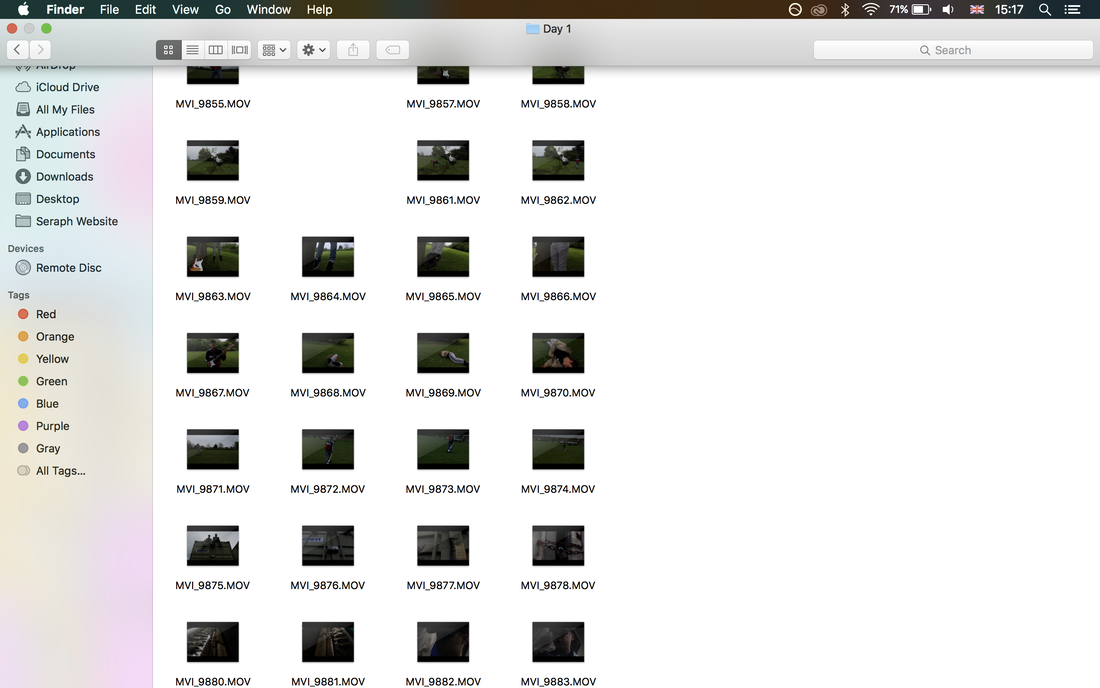
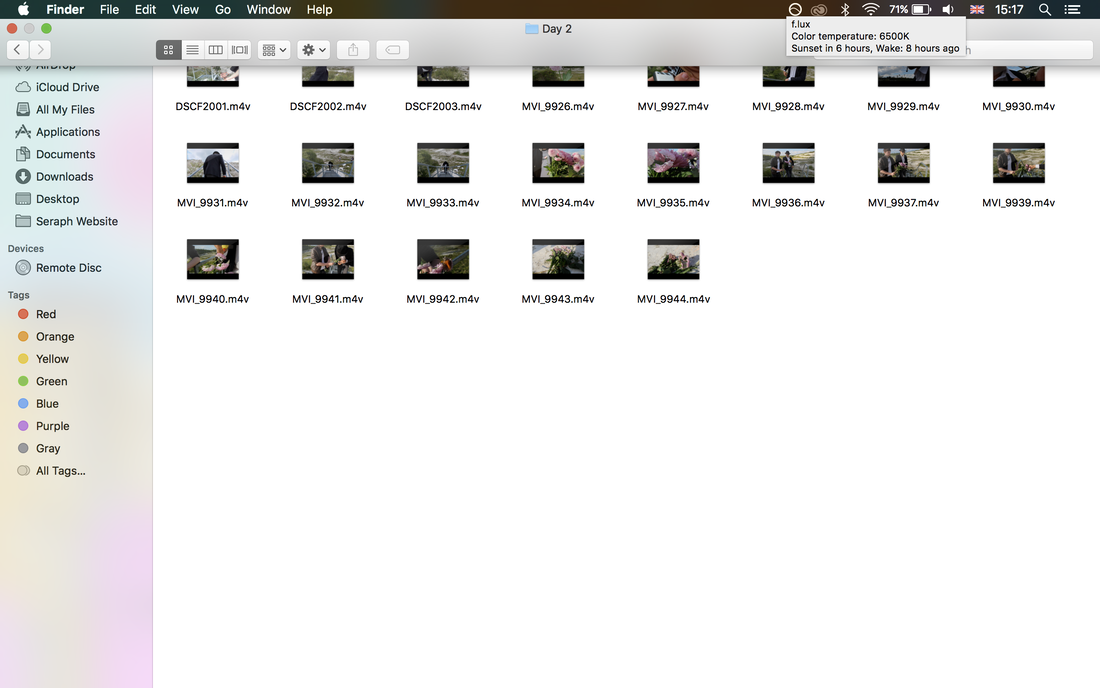
The first thing I did after exporting all of my footage was deciding which shots I could use and which were unusable.
|
|
|
By the end of this process, my filming folders looked like the above, with all of the clips I wanted to potentially use split into folders based on filming day, so that they were easy to find.
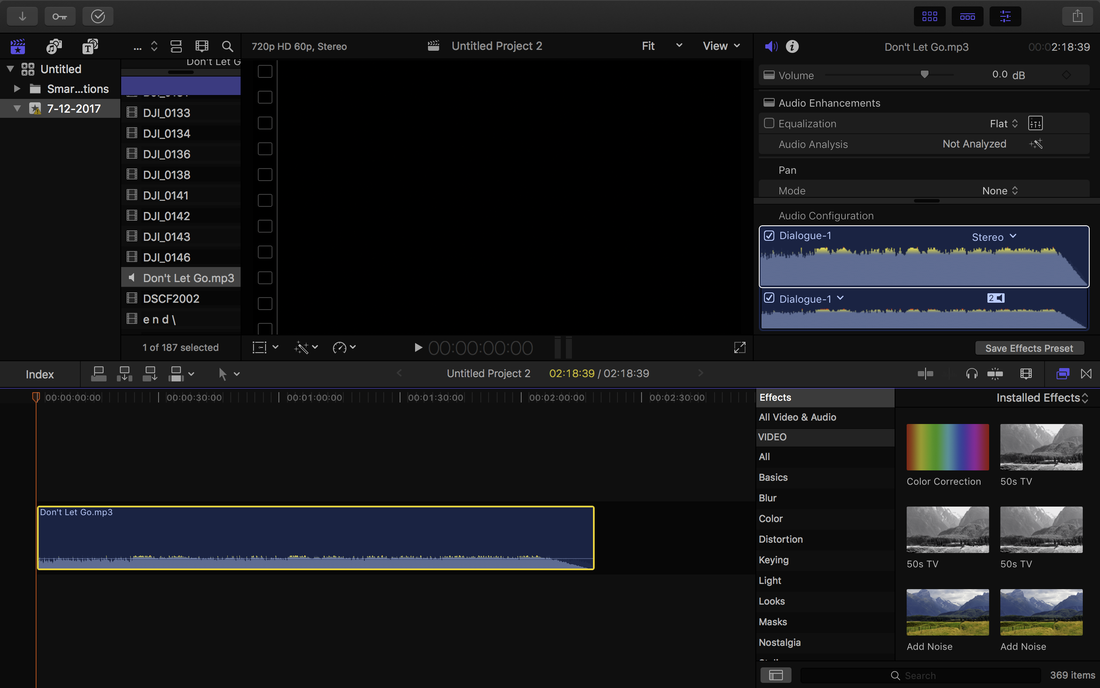
I then imported all of this footage into the editing software "Final Cut Pro X" which is the software that I will be using for this post-production stage.
Before adding any of the video clips to the timeline, I first imported and added the song for the video into the timeline. For many projects, an initial offline edit would not include music for simplicity's sake, but as this is a music video and the music is integral I added the music first as it will act as a guide for roughly how the promo will be edited.
The music for this video can be found on the artists 'SoundCloud' page, at this link; https://soundcloud.com/threewordsofficial/dont-let-go
Here is what my timeline looks like at the moment:
Using the music as a basis, I dragged the clips into the timeline and experimented with placement and cut the clips up to the intended length;
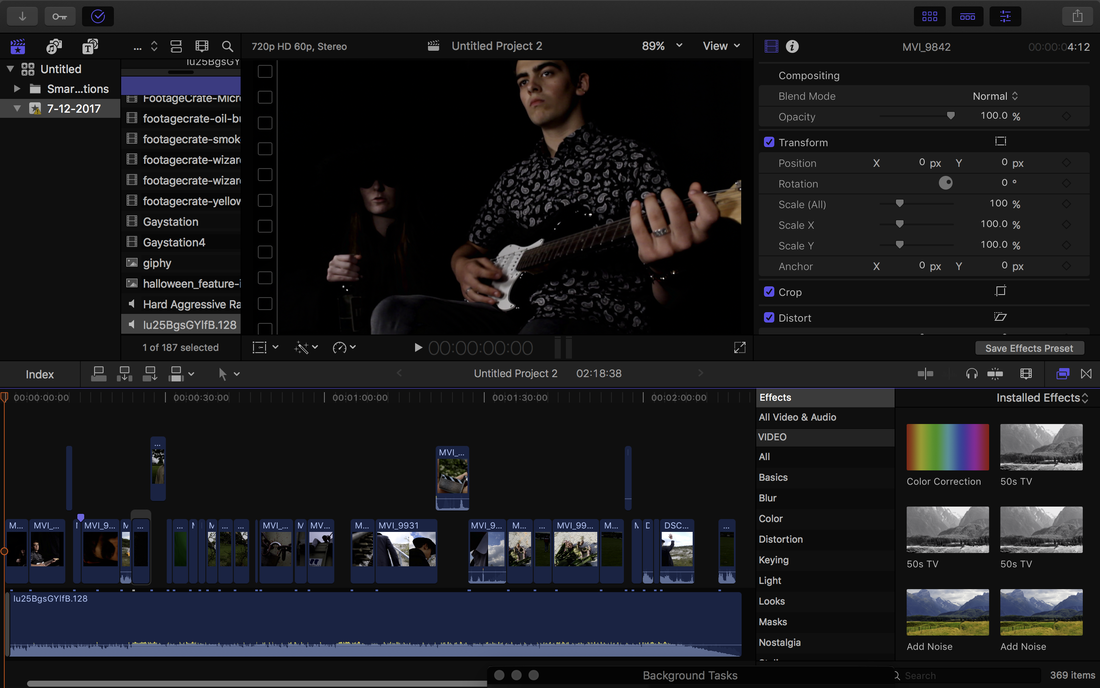
Above is how my timeline looks having dragged all of the clips into the timeline and chopping them up into an appropriate length and sequence. I edited based on the music as I said I would, and removed the audio from most of the video clips.
Here is the Offline Edit as pictured above:
Here is the Offline Edit as pictured above:
As you can see, I tried my best to fit the shots with the music, and I think it came out quite well. I took out most of the sound, but left in sound from a few clips as I thought they added an interesting dynamic to the video that you wouldn't get from just listening to the song. For example, the clip of the lighter flicking open (1:21) retains it's sound as I thought this sound slowed down added meaning to the clip by creating a dramatic atmosphere and emphasising the moody tone of the song. The final clip (2:14) also retains it's dialogue to create comedic effect by giving an insight into the "Behind-The-Scenes" of the video.
There are a few scenes that I slowed down as well, for example the before mentioned lighter scene, as well as the water scene at the beginning at (0:13.)
From here, I will continue editing to create a final online edit involving smooth transitions and visual effects.
There are a few scenes that I slowed down as well, for example the before mentioned lighter scene, as well as the water scene at the beginning at (0:13.)
From here, I will continue editing to create a final online edit involving smooth transitions and visual effects.
P6: Carry out post-production processes to edit the audio-visual material to produce the final product
Having got all of the required shots in sequence, I will now continue the post-production process to completion.
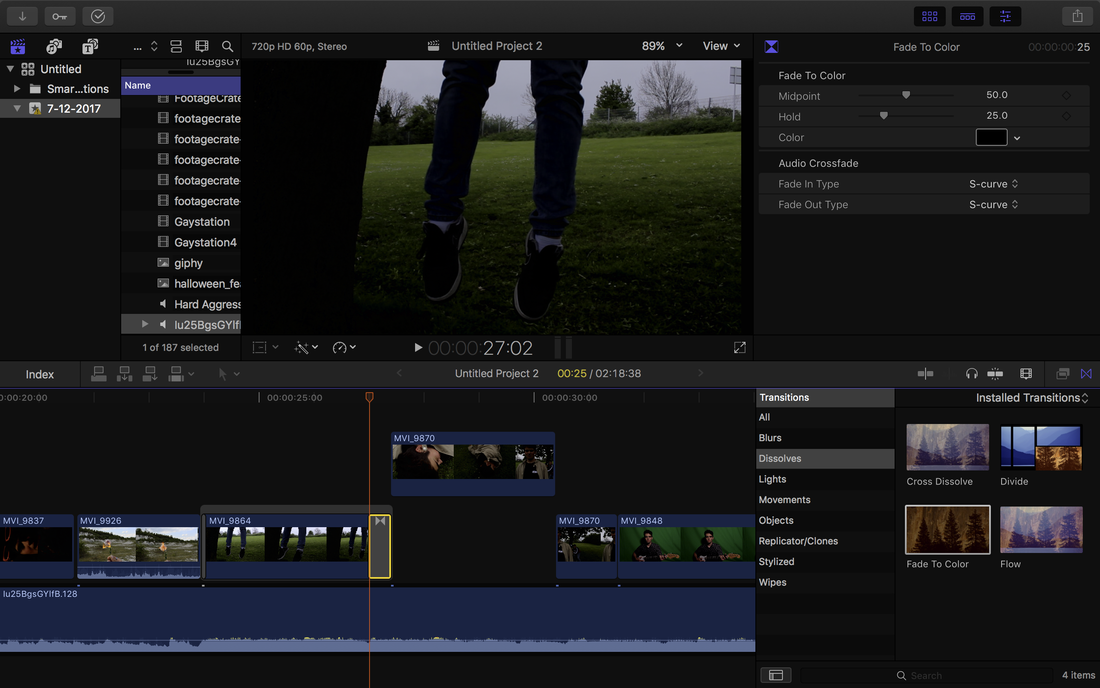
Adding Transitions:
Adding Transitions:
Adding transitions was very simple. For much of the sequence, I wanted simple cut transitions, which required very minimal effort. For some sequences I wanted fade transitions, which was only slightly more complicated. For this process I dragged the "Fade to colour" transition effect from final cut pro X's "Transitions" library onto the intended clip, which applied the transition. I then dragged the fade to the length that I wanted it to be, and ensured that all clips were together without gaps.
Adding Visual Effects:
There are a few visual effects that I want to add to the project. Here I will list visual effects that I will be adding:
Here I will experiment and add these effects
There are a few visual effects that I want to add to the project. Here I will list visual effects that I will be adding:
- Green screen chromakey - Psychedelic visuals
- Spotlight/Mask effect
- Graphic visual filter
- Visual echo effect
- Darkening of shots
- Isolate skin
Here I will experiment and add these effects
Green screen chromakey:
Above was my process for adding the "Psychedelic" green screen chromakey effect. First I found the psychedelic visuals and dragged the clip into the timeline below the green screen footage. I then dragged the "Keyer effect" onto the green screen footage, which got rid of the green screen background and let the psychedelic effect show in the background of the actor playing guitar. This effect worked very well and appears seamlessly in motion, giving the intended "Trippy" and "Psychedelic" effect.
However, I wanted to add another dynamic to this sequence. Through my previous experimentation I found that the "Kaleidotile" effect looked cool on top of an unused clip of my actor wearing pink glasses. I tested this effect on this clip beneath the green screen footage and liked the effect that it created, so added that to the final edit as well. This makes the sequence more colourful and interesting to watch.
However, I wanted to add another dynamic to this sequence. Through my previous experimentation I found that the "Kaleidotile" effect looked cool on top of an unused clip of my actor wearing pink glasses. I tested this effect on this clip beneath the green screen footage and liked the effect that it created, so added that to the final edit as well. This makes the sequence more colourful and interesting to watch.
Spotlight/Vignette Mask:
Here I used Logic Pro x's "Vignette Mask" effect to create a 'Spotlight' effect where the screen is black except for a small segment on and around the character. This creates meaning as it creates darkness and a sense of mystery, which plays well with the tone of the video and song. I achieved this by cutting up the clip to exclude the parts where the character is moving between positions, so that the character 'jumps' between positions. I then applied the vignette mask effect to the clips. I had the mask move around the scene using position keys and altering the position values so that the mask moves across the shots to meet the character in a natural way.
Darkening and Graphic filters:
|
Here I wanted to darken this clip by adding a "Black and White" effect. I wanted this to create a sense of mystery and match the dark and moody tone of the song, as well as make the shot appear more sombre and connote that something dark was going on. The Graphic filter that I dragged over the clip ended up fitting this purpose very well, distorting the image by making it black and white with extreme saturation, as well as making it a bit grainier. This implies something dark and graphic just as I had intended.
|
Here I wanted the footage to be darkened in a similar way to the other clip, except less obscured and instead just black and white to create the impression that the footage is old and antique, matching the mechanical look of the piano.
I found the "Projector" effect while browsing final cut pro x's effects and thought it was perfect for this purpose, as it makes the shot appear as though it is being played through an old film projector in black and white. This is complete with grainy movement across the shot and slight "bobbing" movement. |
Both of these effects I thought were more interesting ways of darkening the shots than simply adjusting the colour of them, and they both add different dimensions of meaning to the shots and to the overall product.
Visual Echo:
I added a visual echo effect here to both make the shot more visually interesting and to create meaning by making the shot disorienting to watch. The visual echo creates this sense of disorientation and confusion within the audience, which reflects the sense of disorientation that the character in the shot is feeling after being hit and falling down.
Skin isolation:
This is an effect that I had not originally planned on using but found in logic pro x's effects library and thought it added greatly to the effect of the last few scenes of the video, so I added and experimented with it. This effect isolates "Skin" and turns it to a grey colour, while keeping the background in full colour. This paired with the old suit costume and cigarette that the character has creates meaning by connoting that the character is dull and grey, reflecting the mood of the song. It also connotes that the character is from the past in a modern setting, as he is in black and white and his skin is grey, much like an old "Noire-film." This creates a sense of mystery to the character and makes audiences curious as to what happened to him and how he is in the situation that he is in.
This effect also worked on the stems of the flowers whilst keeping the flowers in colour, which creates more mystery and also makes the fire special effects on the flowers stand out more as it is against grey instead of full colour green stems.
This effect also worked on the stems of the flowers whilst keeping the flowers in colour, which creates more mystery and also makes the fire special effects on the flowers stand out more as it is against grey instead of full colour green stems.
Sound:
I didn't have any incidental music, sound effects or audio dubbing to carry out in this post-production process, as these aspects would have taken away from the focus of the video, which was to promote the artists music.
Online Edit:
Having added transitions and visual effects, I will now upload and embed my finished project;
